Jump to:| UI Steps |
|---|
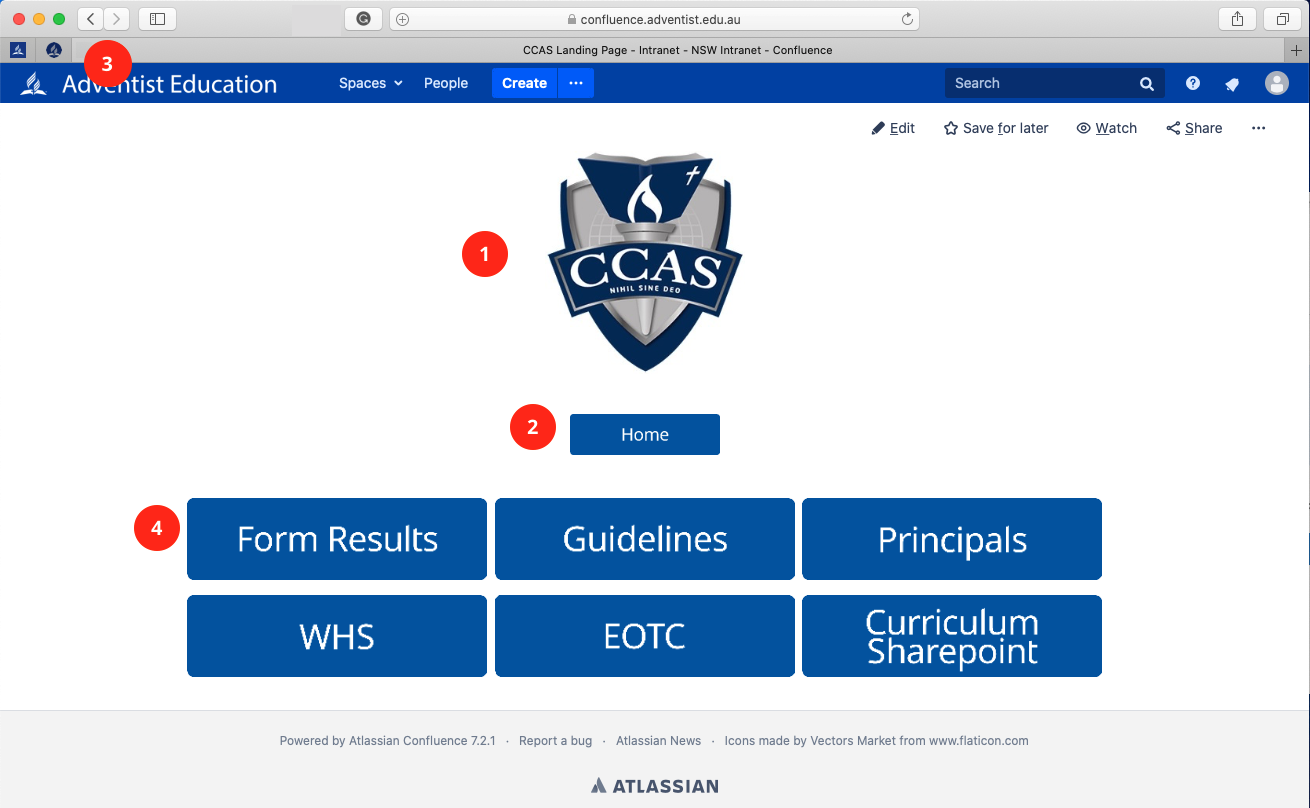
Creating an EOTCui-stepNavigate to your school page and click on the EOTC button  Image Modified Image Modified
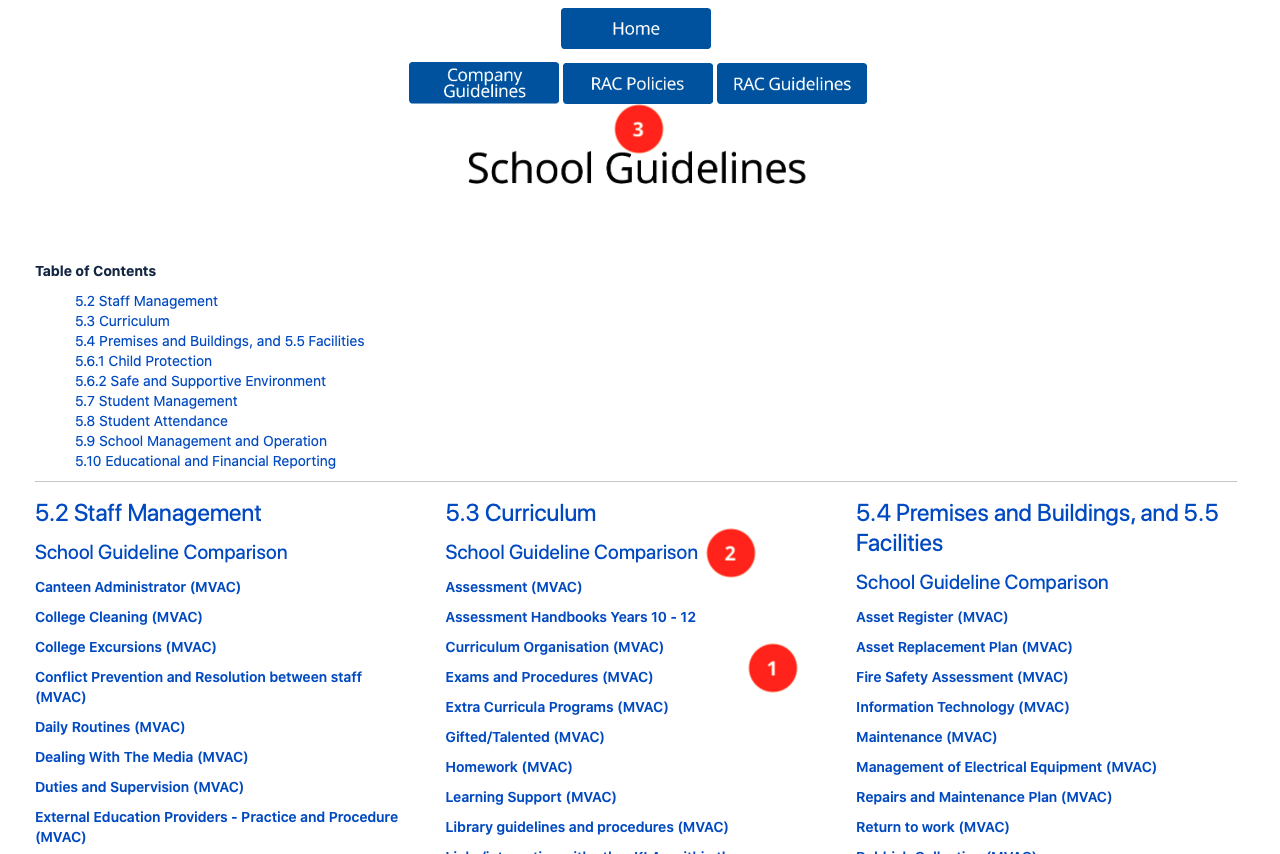
This will take you to the following page, click on the relevant button for what you are needing to create.
| Note |
|---|
| EOTC Proposal is a pre approval form for excursions and not the EOTC form required. Not all schools use this in EOTC procedures. If you are unsure check with your principal or head of school. |
| Widget Connector |
|---|
| width | 852 |
|---|
| url | https://www.youtube.com/watch?v=9SZCuAuECGg&list=PLNwRMtg_E51oVpyMJSoaazV_WqP8veDoi&index=18 |
|---|
| height | 480 |
|---|
|
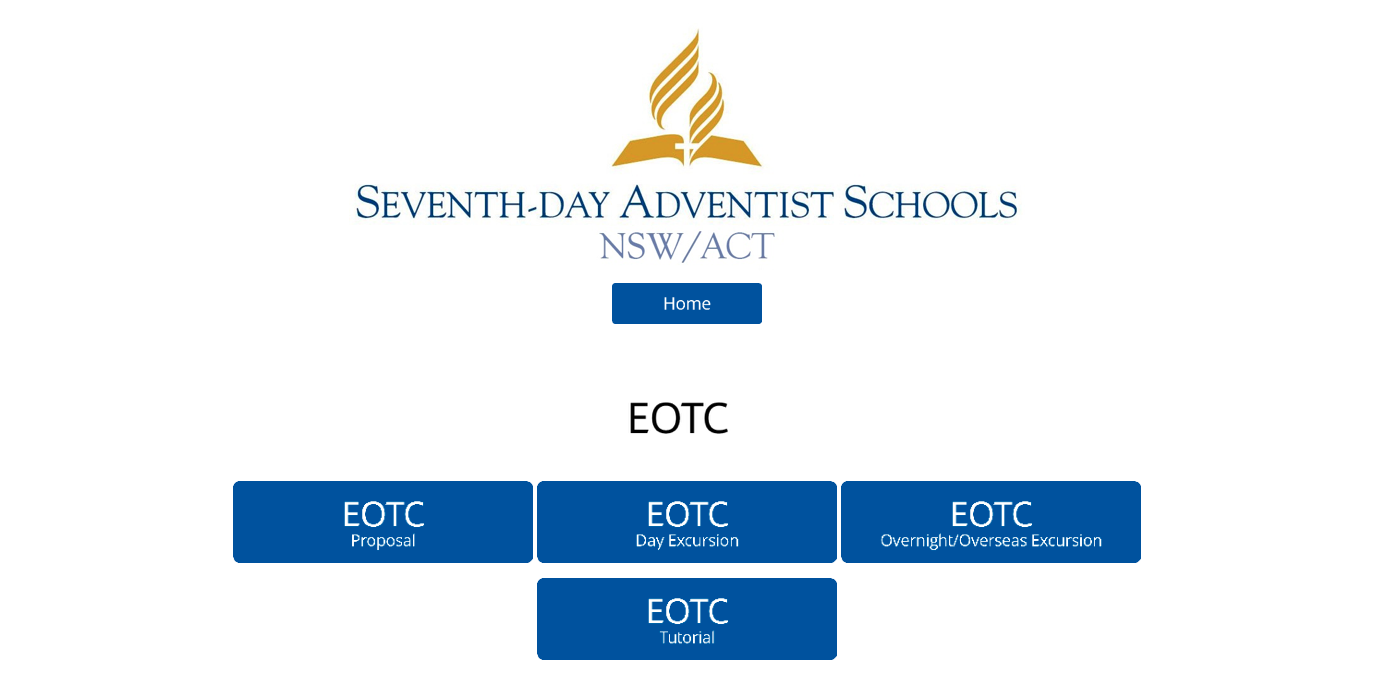 Image Modified Image Modifiedback to top
EOTC ProposalYou will need to complete as field in this form, apart from the one labeled *optional, and the press Save
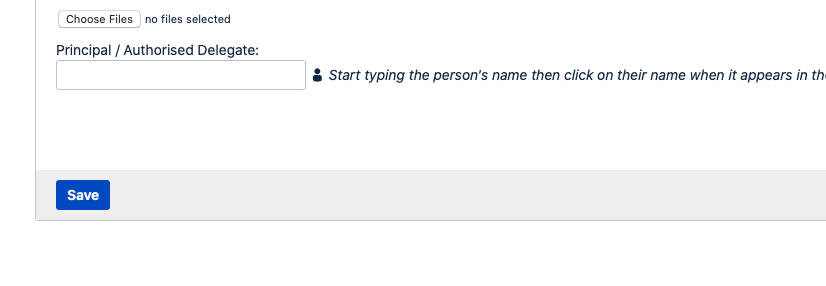 Image Added Image Added
This will trigger an email to your principal/authorised delegate about your proposed excursion. While you are waiting for your approval you can start the EOTC Day or Overnight excursion form.
back to top
EOTC Day/Overnight/Overseas ExcursionComplete the form as per the following guide and the information on the note. Please note only fill in the Red Questions only on this form and read the information regarding the names of the documents being upload in order for your form to work smoothly. | Widget Connector |
|---|
| width | 852 |
|---|
| url | https://www.youtube.com/watch?v=gZyLfX1gzaA |
|---|
| height | 480 |
|---|
|
back to top
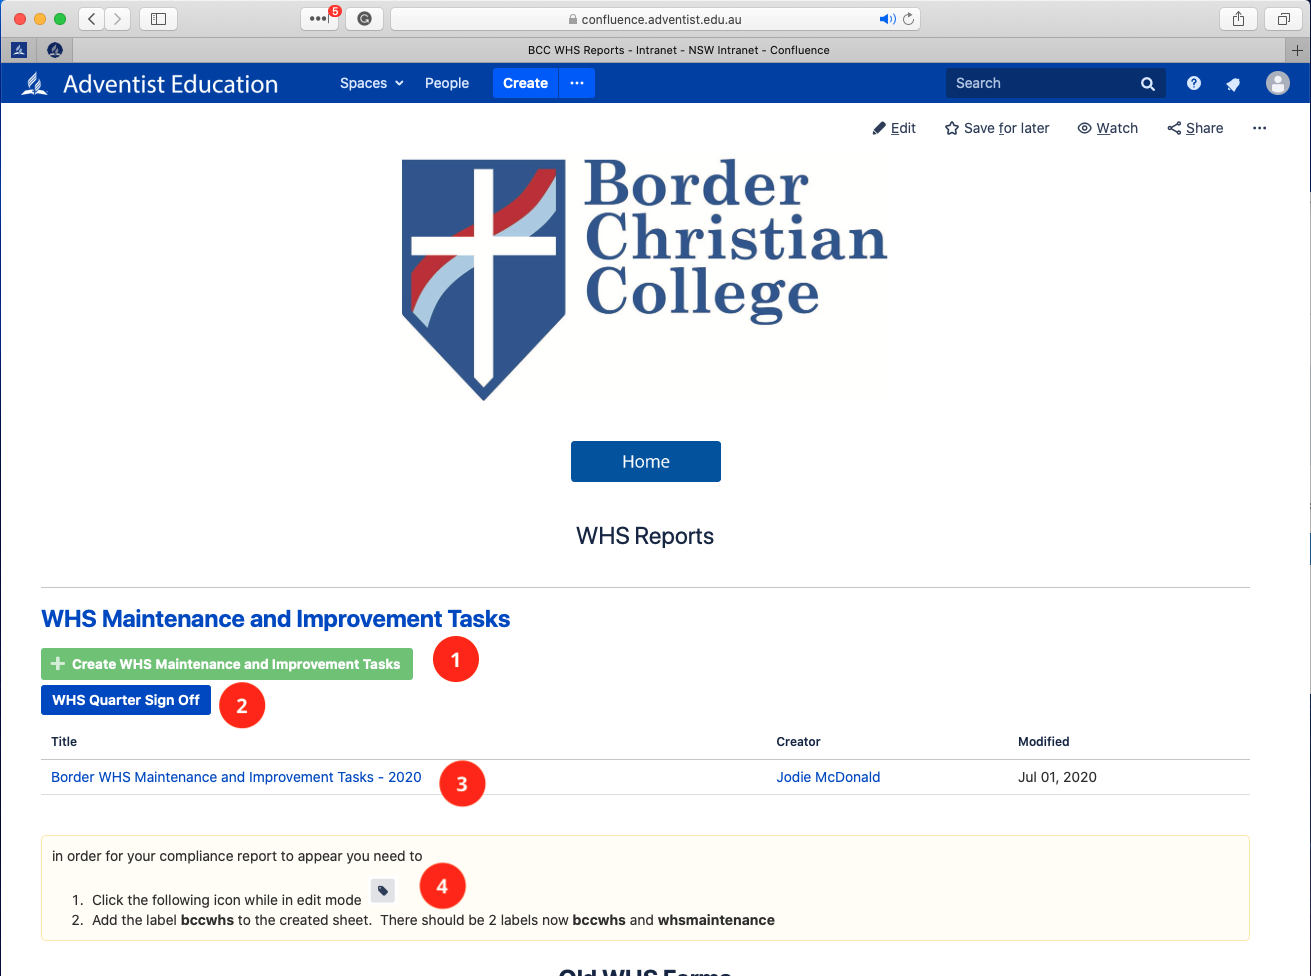
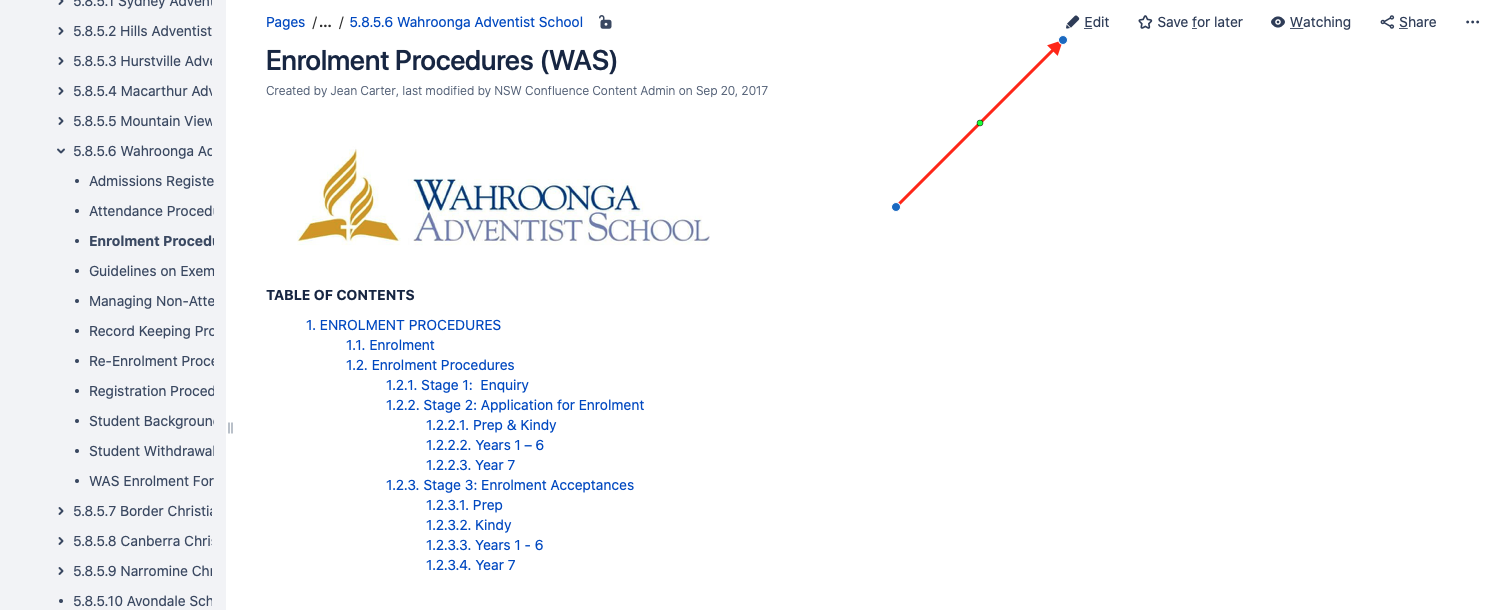
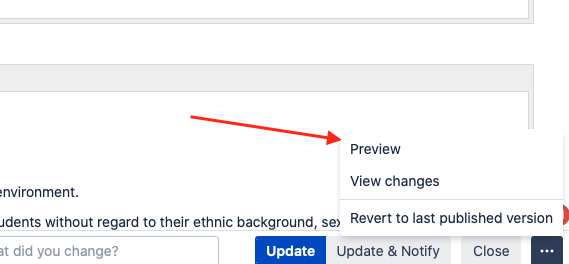
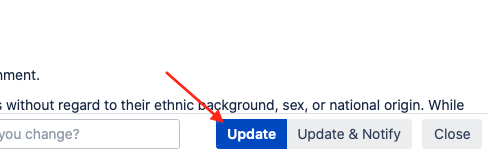
Continuing/Editing/Approving an EOTCTo add to/edit/approve an EOTC in the system you will need to head to form results in you school page. 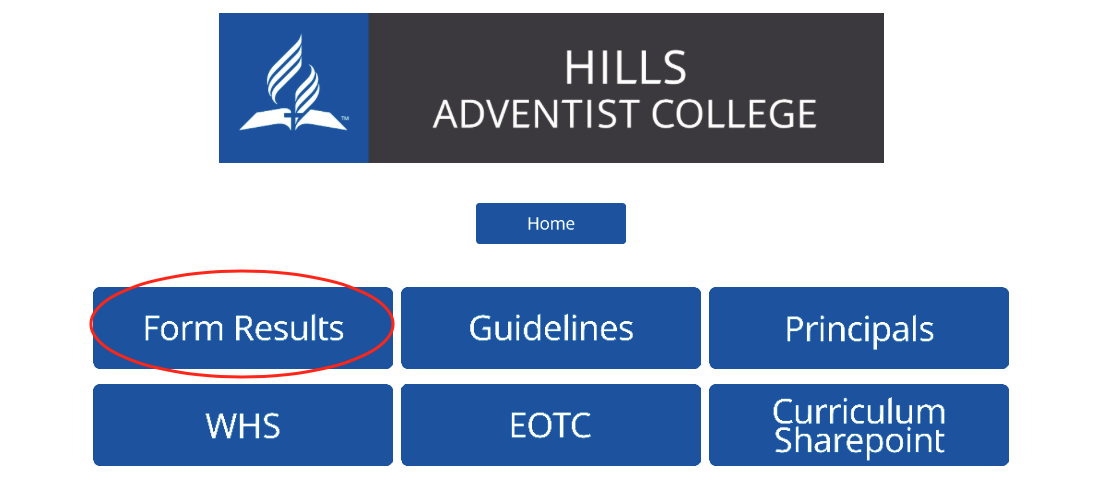 Image Added Image Added
Then select the EOTC Trip Proposal, to approve a proposal, or EOTC Trip Submission to add to/edit/approve an EOTC 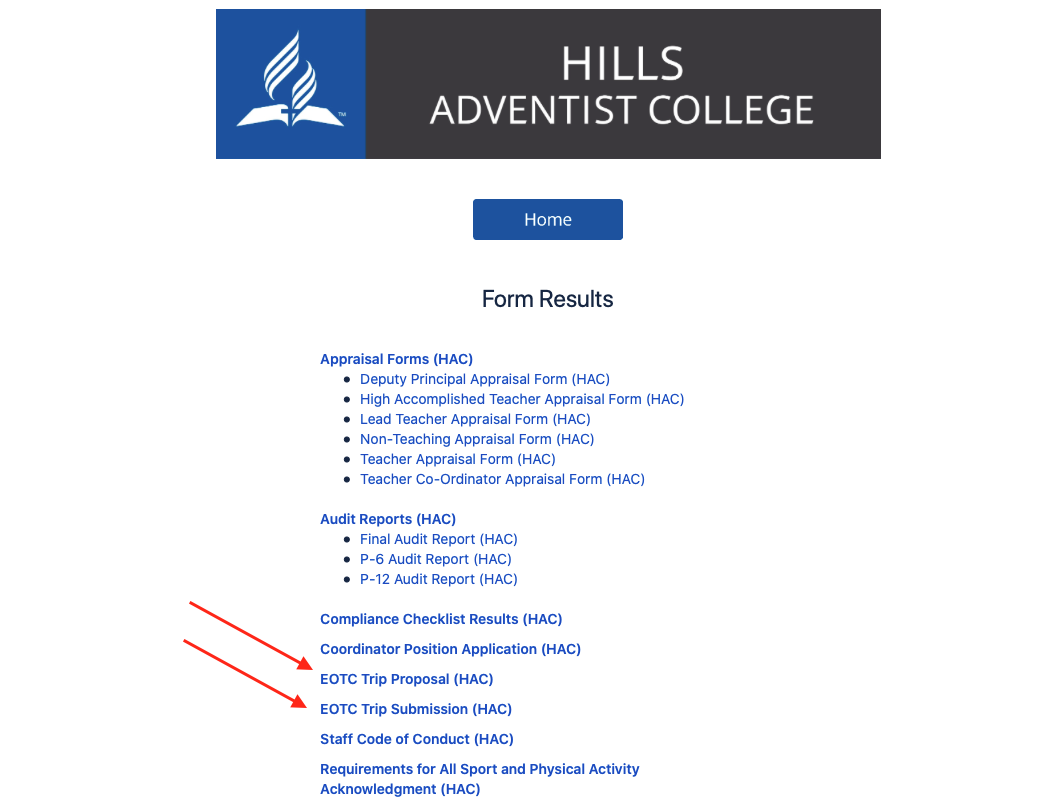 Image Added Image Added
Once there follow the step in the video below about accessing and editing an EOTC. | Widget Connector |
|---|
| width | 852 |
|---|
| url | https://www.youtube.com/watch?v=AMgl6e3bJxY |
|---|
| height | 480 |
|---|
|
back to top
|